
20 Essential Tips When Using Resin
Cheryl NorrisI've had a lot of experience using resin for over 3 years now, since 2019, and I have come up with a list of 20 tips that I personally found invaluable, and I hope you will too.
Feel free to also check out my tips on dealing with bubbles in your resin.
1. TO SAND OR NOT TO SAND
If you are putting a second layer of resin on to cured resin, or a hard surface like a cup, the surface needs to be prepared first. This will ensure the resin will stick effectively and not break apart down the track. You can do this by scuffing the surface with sandpaper. Make sure to wipe it down afterwards with a baby wipe, or wash it with dish detergent and water. Wiping it down with isopropyl alcohol will also get rid of any oils from your hands.

2. ADDING ADDITIONAL LAYERS
If you are like me you find sanding your resin projects in between layers time consuming and annoying. Instead wait 3 to 5 hours after doing the 1st layer, then whilst the resin is still tacky, you can add another layer of resin, without having the need to sand first.

3. BUBBLES
Bubbles in resin can be a nightmare and preventing them can sometimes seem impossible. Check my handy tips here to help prevent bubbles, and how to remove existing ones.

4. DIRTY MOULDS
Use sticky tape to clean silicone moulds. This is a great way to remove dust or glitter or even pet hair from the mould. Repeatedly lift the sticky tape on and off the mould and the debris will come off stuck to the tape.


5. PROTECTION
Use a mat to protect your work surface as resin is impossible to remove once it has hardened. Silicone mats are ideal for this as the resin will peel off when it has set.
Don't forget to also protect the floor and your clothing as resin has a tendency to end up everywhere, without you knowing it, no matter how careful you are.


6. LEVEL SURFACE
Check your work surface is level. Use a spirit level if needed, otherwise your project could end up uneven.

7. VENTILATION
Make sure the room you are working in is well ventilated. Open a window or put a fan on (not directly on to the resin).
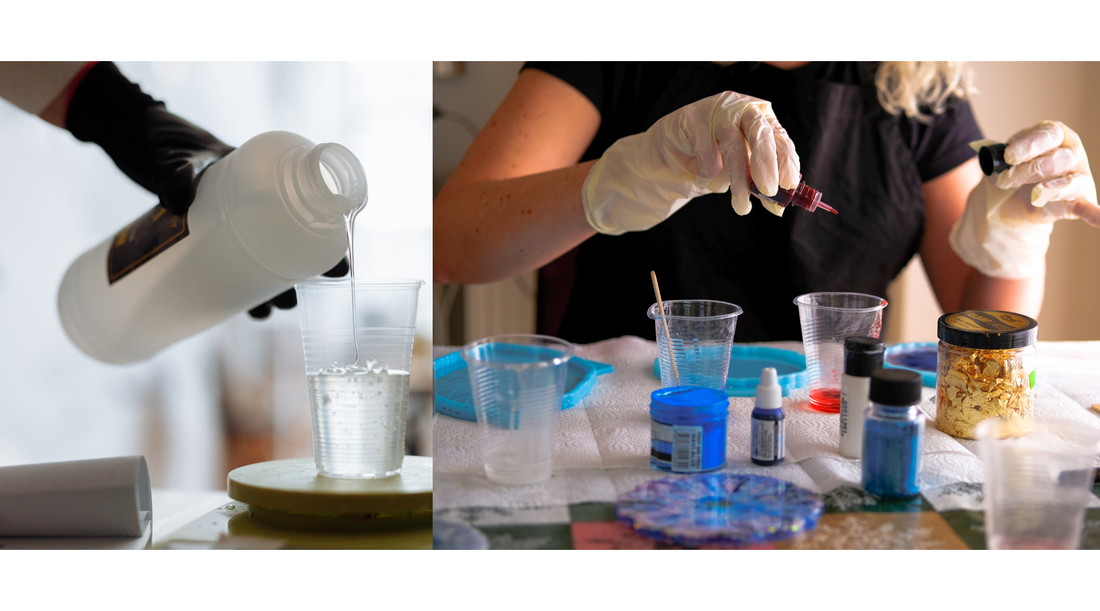
8. BE PREPARED
Have all your tools ready and at hand before you start mixing the resin. Here's a list of items you would typically need.
- Measuring / mixing cups
- Stir sticks
- Silicone moulds and make sure they are clean
- Torch or heat gun or barbeque lighter
- Silicone mat or something to protect your work surface
- Isopropyl Alcohol
- Resin
- Paper towels and/or wipes
- PPE Gloves & respirator mask
- Additives like alcohol ink, flowers, mica powder, foil leaf

9. RESPIRATOR MASK
Follow the resin manufacturer's instructions. If they recommend you wear a respirator mask, then wear it. Even if the resin doesn't have a strong odour, it may still have VOC's (Volatile organic compounds, or gases).

10. GLOVES
Wear gloves to protect your skin. Resin is very sticky and hard to wash off. It is also not good to expose your skin to resin as you can develop a reaction. Nitrile gloves are recommended for use with resin.

11. RESIN INSTRUCTIONS
This is one of those times when you can't just wing it. Reading the resin manufacturers instructions are paramount as they vary from one brand to another. How much Part A do you mix with Part B, working time and curing times are some of the major differences you'll need to read about.
12. DEBRIS
Cover your work whilst the resin is curing to protect it from dust and bugs. Plastic tubs and containers are ideal for this.
13. CLEAN UP
Clean up any spills immediately. Baby wipes and Isopropyl alcohol can be a great way to wipe up spills. You can use acetone but it depends on the surface you are cleaning.
14. RESIN ON SKIN
Use soap and warm water to clean resin from your skin. Acetone or isopropyl alcohol is not safe for this purpose.
15. SANDING
When sanding the resin make sure to wear a particle mask and safety glasses.

16. MOULD RELEASE
Use mould release if you are having trouble removing the cured resin from your silicone mould.
17. RESIN
Use the correct resin for the project.
Casting resin has a lower (thinner) viscosity and is used for deeper pours. It also tends to have less bubbles.
Coating resin has a higher (thicker) viscosity and is ideal for shallow pours, coating or doming your resin pieces and art work.
18. MIXING
Mix the resin slowly and follow the manufacturers recommended stirring time. Making sure to scrape the sides and bottom of the cup as you go.

19. PROPORTIONS
Make sure to not use too much colourant. For example paint can thicken the resin prematurely if you use too much.
20. HEAT
Avoid using too much heating on silicone moulds, especially when using a torch. It can easily melt the silicone and it makes removing the cured resin from the mould very difficult.